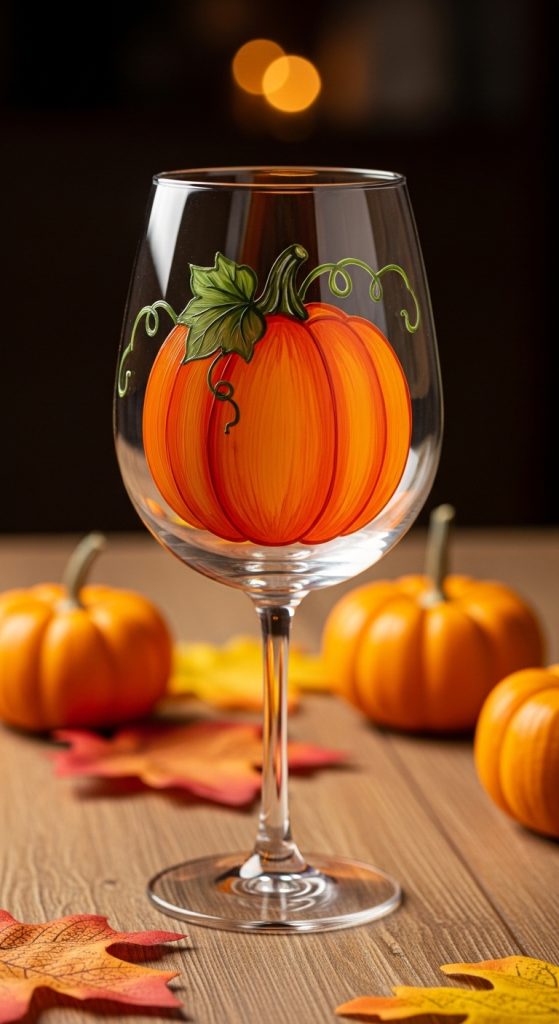
Wine glass painting is one of the most beautiful and versatile DIY crafts you can try. Whether you’re creating personalized gifts, decorating for holidays, hosting a bridal shower, or simply adding artistic charm to your kitchen shelves, painted wine glasses instantly elevate any space. They combine functionality with creativity, turning an ordinary glass into a custom piece of art.
Pinterest has seen a major rise in aesthetic glass painting ideas because they’re beginner-friendly, affordable, and highly customizable. You can create seasonal designs like snowflakes and pumpkins, romantic florals for weddings, modern minimalist patterns, or even personalized name glasses for special events. The best part? You don’t need professional art skills to achieve stunning results.
There are two main approaches to wine glass painting: detailed hand-painted art using fine brushes and acrylic enamel paint, or simplified stencil and dotting techniques for clean, modern designs. You can also experiment with frosted glass paint, metallic accents, glitter finishes, or layered translucent colors for a stained-glass effect.
Before starting, it’s important to choose the right materials. Always use glass-specific acrylic enamel paint that’s dishwasher-safe (if cured properly). Clean the glass thoroughly with rubbing alcohol before painting to remove oils. After completing your design, allow it to dry for 24 hours and bake according to paint instructions to seal the artwork.
In this guide, you’ll discover 10 detailed wine glass painting ideas with step-by-step instructions and materials lists. Each design is practical, beginner-friendly, and perfect for saving to your Pinterest DIY board.
Let’s explore creative ways to transform simple wine glasses into stunning handcrafted pieces.
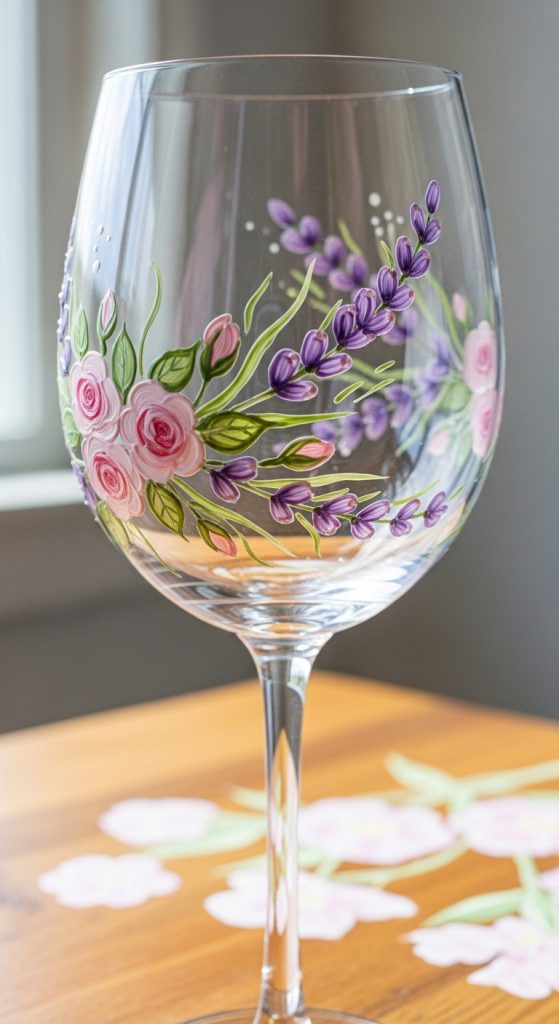
1. Floral Bouquet Wine Glass
A classic floral wine glass design is timeless and elegant. Hand-painted roses, lavender sprigs, or wildflowers wrapped around the bowl create a romantic look perfect for weddings, gifts, or spring decor.
This design works beautifully on clear wine glasses with delicate brushwork.
What Defines This Look
- Hand-painted flowers
- Soft pastel or vibrant tones
- Glossy enamel finish
- Wraparound floral placement
Step-by-Step How-To
- Clean glass with rubbing alcohol.
- Sketch light outline using washable marker.
- Paint flower petals first, then leaves.
- Add shading for depth.
- Let dry 24 hours, then bake according to instructions.
Materials Needed
- Clear wine glass
- Glass enamel paints
- Fine paintbrushes
- Rubbing alcohol
- Paper towels
Elegant and gift-worthy.
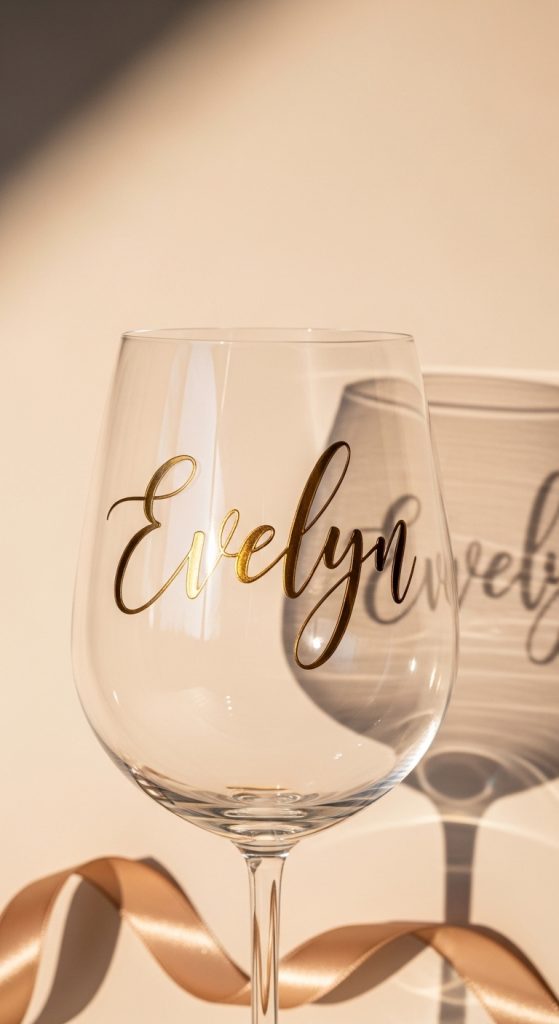
2. Personalized Name Wine Glass
Perfect for bridal parties or holiday gifts, this idea features a hand-lettered name or monogram in metallic or white paint.
Minimalist but meaningful.
What Defines This Look
- Clean lettering
- Metallic gold or silver finish
- Simple layout
- Personalized touch
Step-by-Step How-To
- Clean glass thoroughly.
- Print name template and tape inside glass as guide.
- Trace lettering with fine brush.
- Apply second coat if needed.
- Cure paint according to instructions.
Materials Needed
- Metallic glass paint
- Fine liner brush
- Tape
- Printed name template
Perfect for custom events.
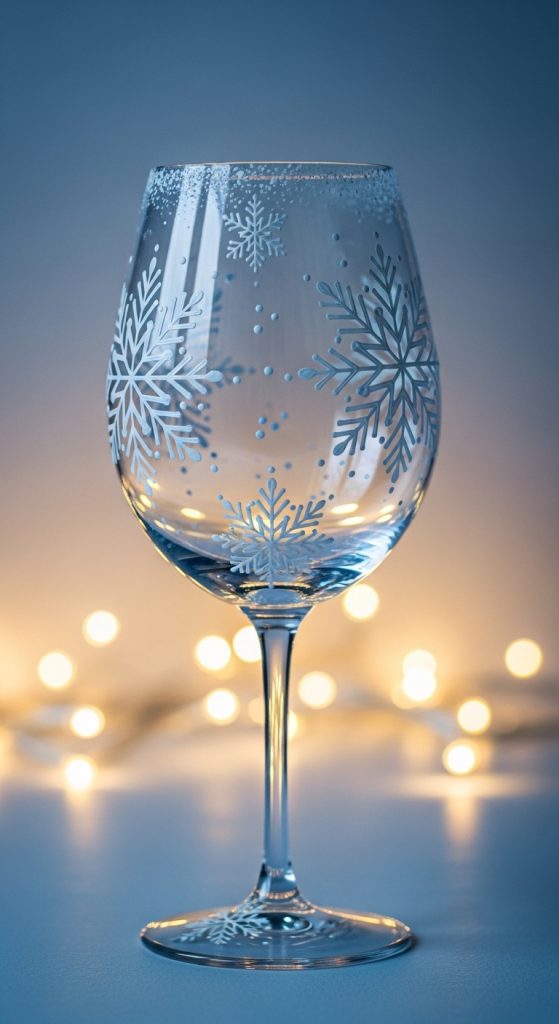
3. Frosted Snowflake Holiday Glass
A winter-inspired design featuring frosted snowflakes on the bowl of the glass. Ideal for Christmas gatherings.
What Defines This Look
- White or frosted paint
- Snowflake patterns
- Winter aesthetic
Step-by-Step How-To
- Apply stencil or hand-paint snowflakes.
- Add tiny dots for falling snow.
- Let dry completely.
- Bake if required.
Materials Needed
- White glass paint
- Snowflake stencil (optional)
- Sponge brush
Festive and cozy.
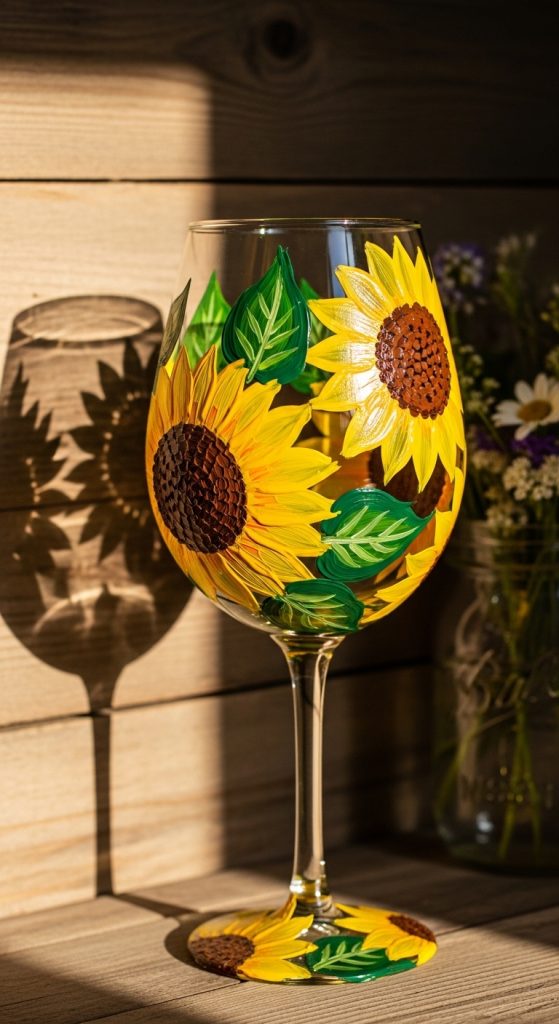
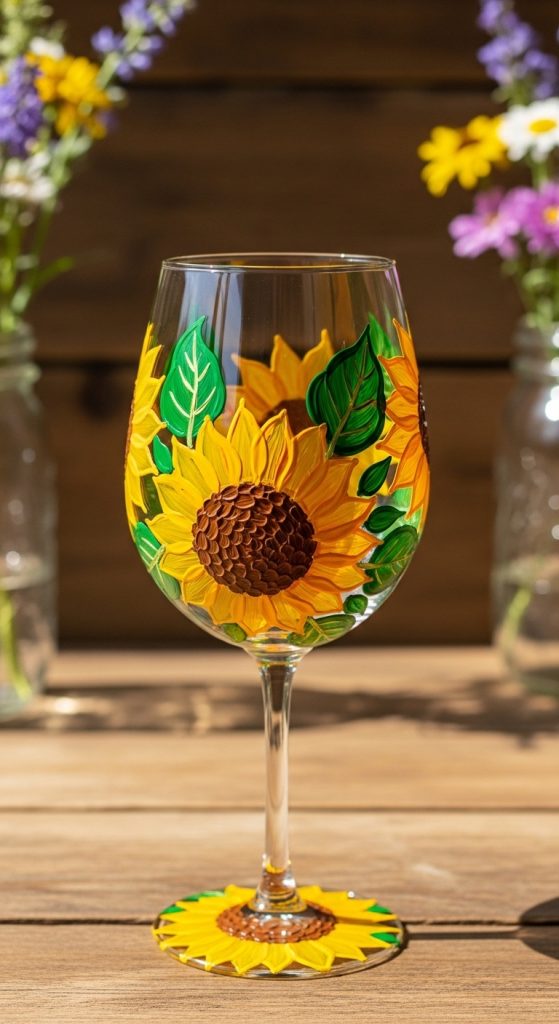
4. Sunflower Rustic Wine Glass
Bright sunflowers painted around the base or bowl create a farmhouse-style look.
What Defines This Look
- Bold yellow petals
- Brown center detailing
- Rustic aesthetic
Step-by-Step How-To
- Paint brown circle centers.
- Add yellow petals around center.
- Outline lightly for detail.
- Add green leaves.
Materials Needed
- Yellow, brown, green enamel paint
- Round and detail brushes
Warm and cheerful.
5. Polka Dot Confetti Glass
A fun and easy beginner project using colorful dots around the glass.
What Defines This Look
- Multi-color dot pattern
- Playful design
- Even spacing
Step-by-Step How-To
- Dip dotting tool into paint.
- Add evenly spaced dots.
- Layer colors.
- Allow to dry and cure.
Materials Needed
- Multiple paint colors
- Dotting tool or cotton swab
Simple and festive.
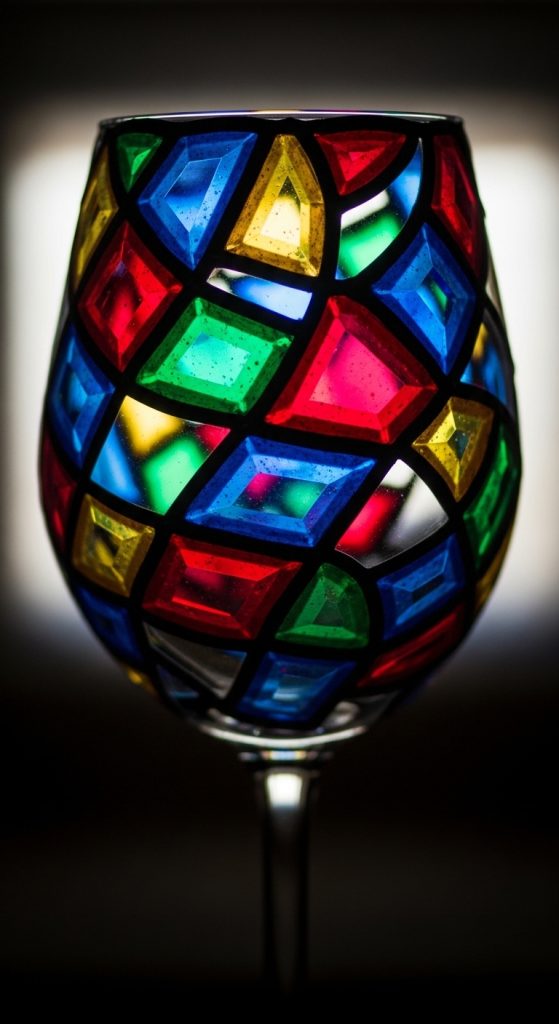
6. Stained Glass Effect Wine Glass
Use translucent glass paint to create a stained-glass window look with bold outlines.
What Defines This Look
- Black outline sections
- Translucent color fill
- Vibrant jewel tones
Step-by-Step How-To
- Outline design with black liner.
- Fill sections with translucent paint.
- Let dry fully.
- Cure if necessary.
Materials Needed
- Glass liner paint
- Translucent glass paints
- Fine brush
Artistic and dramatic.
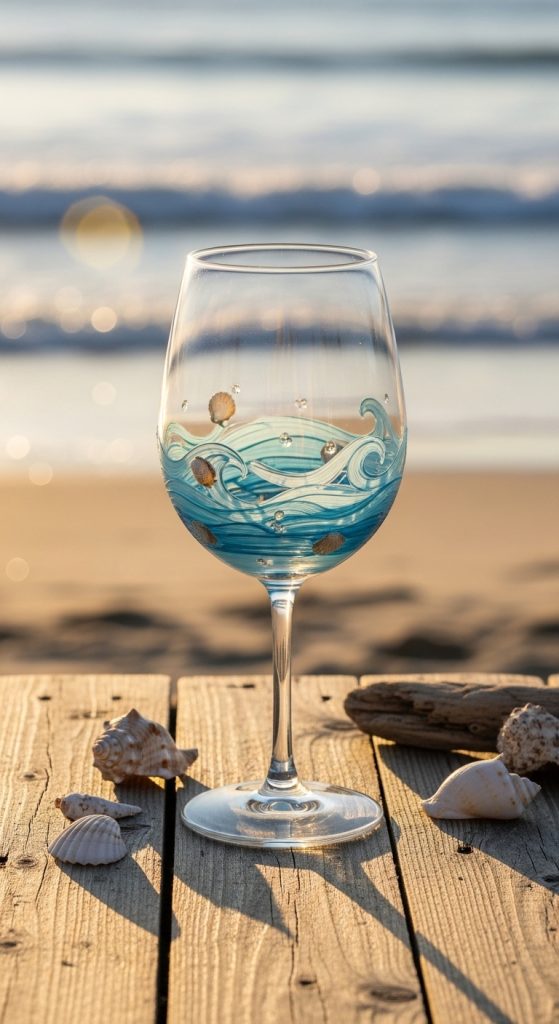
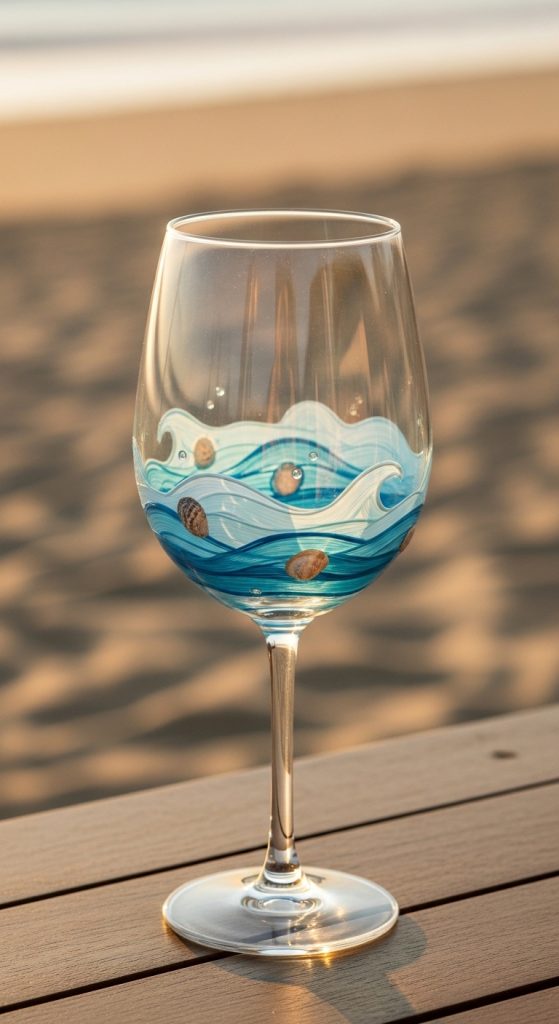
7. Beach-Themed Wine Glass
Paint seashells, waves, or starfish for a coastal vibe.
What Defines This Look
- Blue ocean tones
- Shell or wave designs
- Relaxed beach aesthetic
Step-by-Step How-To
- Paint soft blue gradient background.
- Add white wave details.
- Paint small seashells.
- Let dry and cure.
Materials Needed
- Blue and white enamel paint
- Detail brush
Perfect for summer decor.
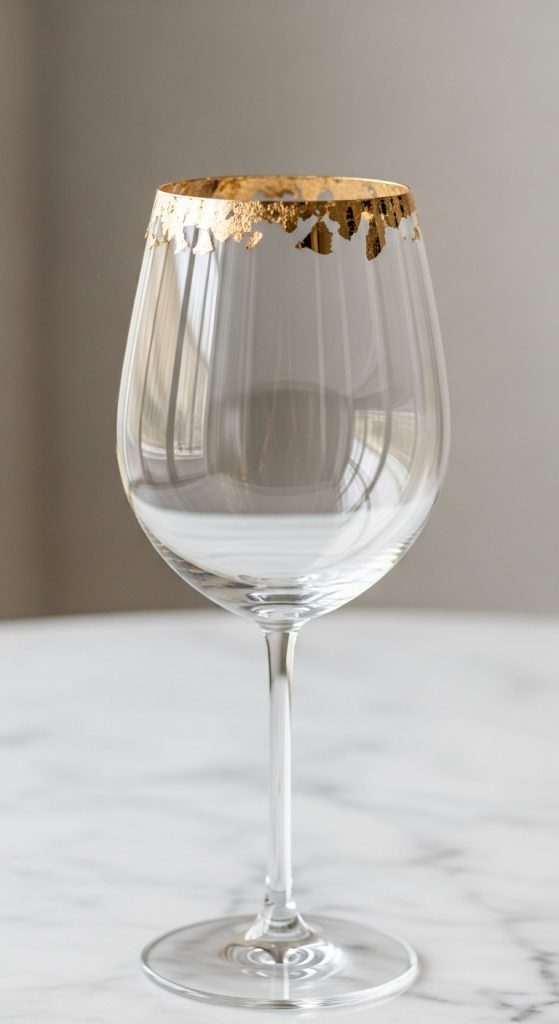
8. Gold Leaf Elegant Wine Glass
Apply gold leaf accents for a luxurious, modern look.
What Defines This Look
- Gold foil edges
- Minimal clear design
- Sophisticated finish
Step-by-Step How-To
- Apply adhesive to rim area.
- Gently press gold leaf.
- Seal carefully.
- Allow to dry.
Materials Needed
- Gold leaf sheets
- Adhesive
- Soft brush
Chic and glamorous.
9. Mandala Pattern Wine Glass
Intricate mandala dot patterns wrap around the bowl.
What Defines This Look
- Symmetrical dot art
- Multi-layered pattern
- Bold or pastel palette
Step-by-Step How-To
- Sketch light circular guide.
- Add center dot cluster.
- Build outward with dotting tool.
- Let dry and cure.
Materials Needed
- Dotting tools
- Multiple paint colors
Detailed and artistic.
10. Halloween Pumpkin Wine Glass
Perfect for fall gatherings, featuring a cute pumpkin design.
What Defines This Look
- Orange pumpkin art
- Green vine details
- Seasonal theme
Step-by-Step How-To
- Paint orange pumpkin base.
- Add darker shading lines.
- Paint green stem and vines.
- Cure paint.
Materials Needed
- Orange, green, brown paint
- Fine brush