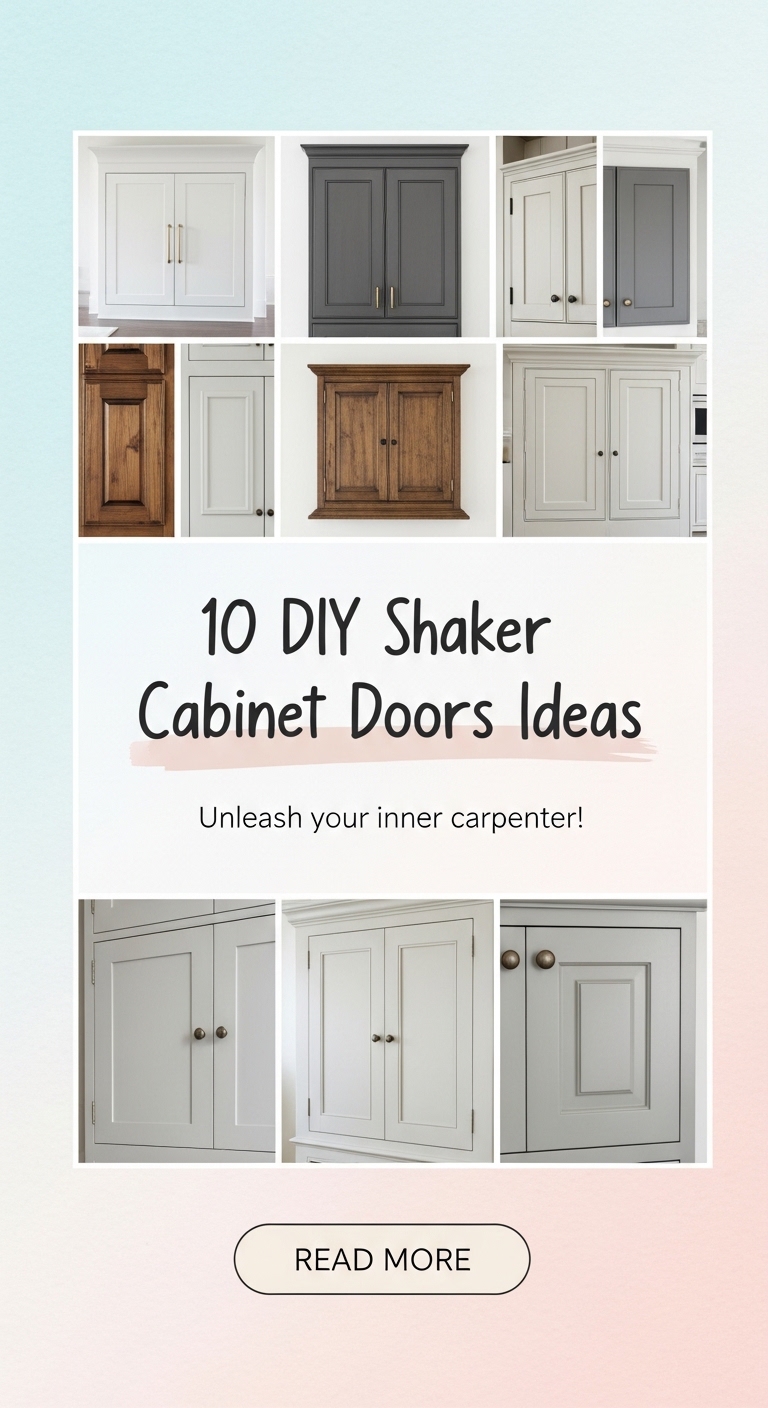
If you’re looking for a kitchen or bathroom upgrade that delivers maximum visual impact without the cost of a full remodel, DIY shaker cabinet doors are one of the smartest projects you can tackle. Shaker-style doors are known for their clean lines, simple frame-and-panel construction, and timeless appeal. They work beautifully in modern, farmhouse, transitional, and even minimalist interiors — which makes them one of the most versatile cabinet styles available.

The best part? You don’t need professional carpentry experience to build them. With basic tools, precise measurements, and the right materials, you can create high-end looking shaker cabinet doors at a fraction of the price of custom cabinetry. Pinterest trends consistently show that homeowners are choosing DIY shaker upgrades instead of replacing entire cabinets. Why? Because simply changing the doors can completely transform the look of your space.
Shaker cabinet doors typically consist of five pieces: two vertical stiles, two horizontal rails, and one flat center panel. However, there are many creative variations you can explore — from slim modern frames to wide farmhouse borders, glass inserts, decorative trim additions, and even two-tone paint finishes.
In this guide, you’ll discover 10 DIY shaker cabinet door ideas ranging from beginner-friendly builds to creative upgrades. Each idea includes a clear explanation, step-by-step instructions, and a materials list so you can confidently start your project.
Let’s build cabinet doors that look custom — without the custom price tag.
1. Basic MDF Shaker Cabinet Doors (Beginner-Friendly)
Introduction
If you’re new to woodworking, starting with MDF (medium-density fiberboard) is ideal. MDF is affordable, smooth, and easy to paint. This simple shaker design uses flat MDF boards to create the frame and a recessed center panel. It’s perfect for painted finishes and modern kitchens.
How to Build
- Measure existing cabinet openings.
- Cut one MDF sheet for the center panel.
- Cut two vertical stiles and two horizontal rails.
- Attach frame pieces around the center panel using wood glue and brad nails.
- Fill nail holes with wood filler.
- Sand smooth.
- Prime and paint.
- Install hinges and mount doors.
Materials Needed
- MDF sheets
- Wood glue
- Brad nails
- Nail gun
- Wood filler
- Sandpaper
- Primer and paint
- Hinges

2. Solid Wood Shaker Doors
Introduction
For a more durable and stain-friendly finish, solid wood shaker doors are an excellent choice. This option highlights natural wood grain and works beautifully in warm or rustic kitchens.
How to Build
- Cut solid wood rails and stiles.
- Create grooves for center panel using a router.
- Insert plywood or solid wood center panel.
- Glue and clamp pieces together.
- Sand thoroughly.
- Apply stain and protective sealant.
- Install hardware.
Materials Needed
- Solid wood boards
- Plywood center panel
- Router
- Wood glue
- Clamps
- Wood stain
- Clear sealant

3. Slim Frame Modern Shaker Doors
Introduction
This variation features thinner rails and stiles for a contemporary look. It’s ideal for minimalist kitchens.
How to Build
- Cut narrow frame pieces.
- Attach around center panel.
- Keep edges sharp and clean.
- Finish with matte paint.
Materials Needed
- MDF or wood boards
- Wood glue
- Paint
- Hinges

4. Wide Frame Farmhouse Shaker Doors
Introduction
Wider frame borders create a cozy farmhouse aesthetic and add visual weight.
How to Build
- Cut wider rails and stiles.
- Attach to center panel.
- Sand and paint white or cream.
- Add black farmhouse-style handles.
Materials Needed
- MDF or wood boards
- Wood glue
- Paint
- Black hardware

5. Shaker Doors with Glass Insert
Introduction
Replace the center panel with glass for display cabinets. This works beautifully for upper kitchen cabinets.
How to Build
- Build shaker frame.
- Cut opening for glass panel.
- Insert tempered glass.
- Secure with clips or trim.
- Install.
Materials Needed
- Wood frame pieces
- Tempered glass panel
- Glass clips
- Wood glue

6. Beadboard Center Shaker Doors
Introduction
Instead of a flat center panel, use beadboard to add texture and farmhouse charm.
How to Build
- Cut beadboard panel to size.
- Build outer frame.
- Insert beadboard panel.
- Prime and paint.
Materials Needed
- Beadboard panel
- Frame boards
- Wood glue
- Primer and paint

7. Two-Tone Painted Shaker Doors
Introduction
Painting the frame one color and the center panel another creates depth and visual interest.
How to Build
- Build standard shaker door.
- Prime fully.
- Tape off center panel.
- Paint frame and center separately.
- Seal with protective coat.
Materials Needed
- MDF or wood boards
- Painter’s tape
- Two paint colors
- Sealer

8. Decorative Trim Enhanced Shaker Doors
Introduction
Add molding trim inside the frame to elevate a simple shaker design.
How to Build
- Build basic shaker door.
- Cut decorative trim pieces.
- Glue trim inside frame border.
- Fill gaps and sand.
- Paint.
Materials Needed
- Shaker door base
- Decorative molding trim
- Wood glue
- Wood filler
- Paint

9. Overlay Shaker Doors (No Center Panel Removal)
Introduction
If you don’t want to rebuild doors entirely, you can glue frame pieces directly onto flat existing cabinet doors to create a faux shaker look.
How to Build
- Remove existing doors.
- Cut thin MDF strips.
- Attach strips to create frame border.
- Fill seams and sand.
- Prime and paint.
- Reinstall.
Materials Needed
- Thin MDF strips
- Wood glue
- Wood filler
- Sandpaper
- Paint

10. Router-Cut Single Panel Shaker Doors
Introduction
For a cleaner look without separate frame pieces, use a router to carve a recessed panel into one solid board.
How to Build
- Cut door panel from plywood.
- Use router to carve inner border.
- Sand smooth.
- Prime and paint or stain.
- Install hinges.
Materials Needed
- Plywood sheet
- Router
- Sandpaper
- Primer and paint
- Hinges