
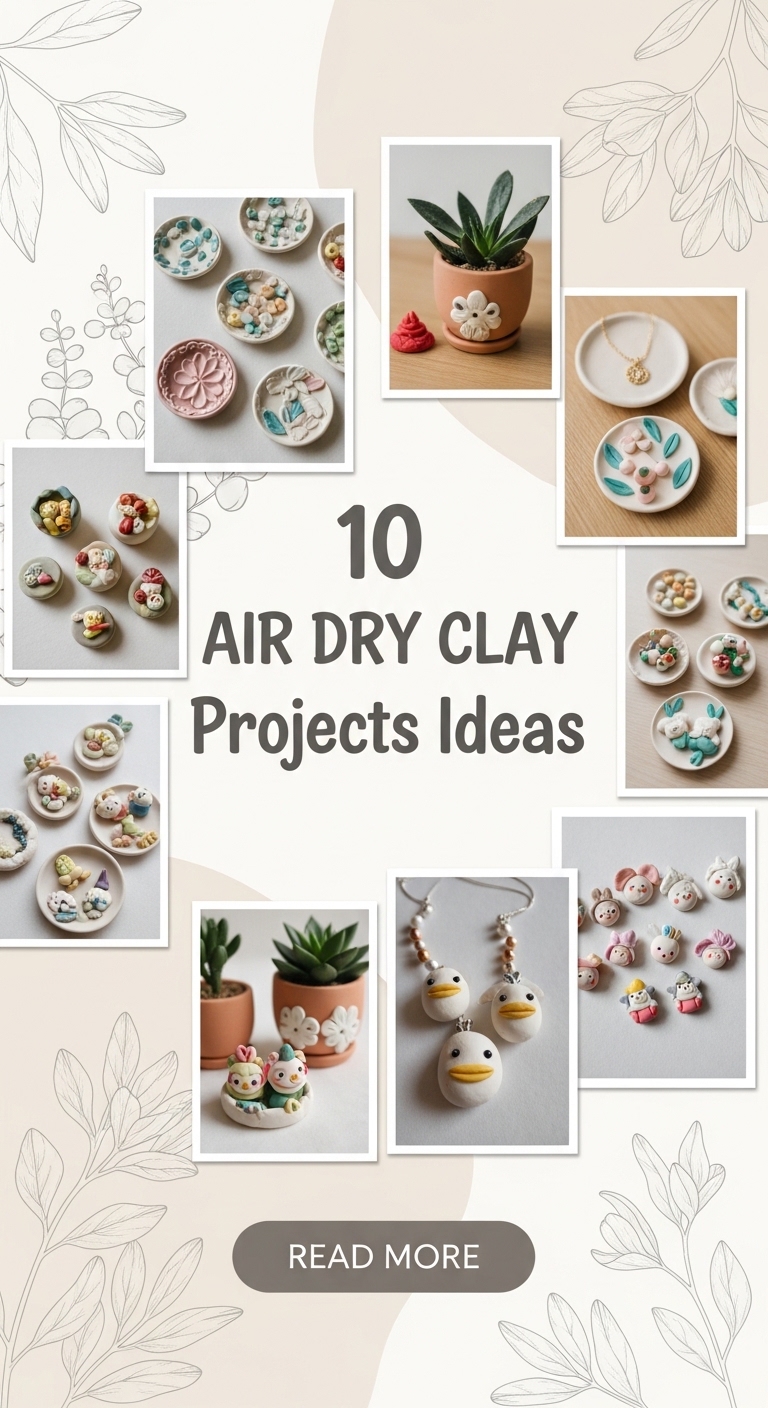
Air dry clay is one of the most beginner-friendly and versatile craft materials you can use. It requires no kiln, no baking, and no complicated equipment — just creativity and time to let it dry naturally. Whether you’re crafting solo, planning a DIY weekend, or setting up a family-friendly art session, air dry clay opens the door to endless possibilities. From functional home décor to personalized gifts, the projects you can create are both beautiful and practical.

One of the biggest advantages of air dry clay is accessibility. It’s affordable, easy to shape, and forgiving for beginners. If you make a mistake, you can smooth it with water or reshape it before it dries. Once hardened, it can be sanded, painted, sealed, or decorated to match your style. This makes it perfect for Pinterest-worthy crafts that look high-end but are simple to make.
Air dry clay works well for modern minimalist projects, rustic farmhouse décor, boho-inspired accents, and even playful kids’ crafts. You can create jewelry dishes, wall hangings, planters, ornaments, coasters, and more — all from a single block of clay. The key to success lies in proper thickness, smooth finishing, and allowing adequate drying time.
In this guide, you’ll discover 10 detailed air dry clay project ideas that are practical, stylish, and beginner-friendly. Each idea includes a clear explanation, step-by-step instructions, and a list of materials needed. Whether you’re crafting for your home, creating gifts, or building inventory for a small business, these ideas will inspire your next creative session.
Let’s explore beautiful and easy air dry clay projects you’ll want to start today.
1. Minimalist Clay Jewelry Dish
Introduction
A handmade clay jewelry dish is one of the easiest and most popular air dry clay projects. It’s functional, stylish, and perfect for holding rings, earrings, or small trinkets. This project fits beautifully into modern, minimalist, or boho home décor styles.
What Is This Project?
A shallow, curved dish shaped by hand and decorated with paint or metallic accents.
How to Make It
- Roll out air dry clay to about ¼ inch thickness.
- Cut a circle using a bowl or template.
- Gently lift and place over an upside-down bowl to form curved edges.
- Smooth edges with damp fingers.
- Let dry 24–48 hours.
- Sand lightly and paint or seal.
Materials Needed
- Air dry clay
- Rolling pin
- Bowl (for shaping)
- Sandpaper
- Acrylic paint or sealer

2. Decorative Clay Wall Hanging
Introduction
Clay wall hangings add texture and modern charm to any space. This project works beautifully for neutral-toned interiors and creative studio décor.
Steps
- Roll out clay evenly.
- Cut into organic shapes.
- Poke small holes at the top.
- Let dry completely.
- Paint in neutral tones.
- Thread with string or leather cord.
Materials
- Air dry clay
- Craft knife
- Straw (for holes)
- Acrylic paint
- Twine or cord

3. Personalized Name Plaque
Introduction
A clay name plaque makes a thoughtful gift for nurseries, kids’ rooms, or home offices.
Steps
- Roll clay into rectangle shape.
- Carve name using carving tool.
- Smooth edges.
- Let dry fully.
- Paint letters and seal.
Materials
- Air dry clay
- Letter stencil or carving tool
- Paint
- Sealer

4. Textured Clay Coasters
Introduction
Clay coasters are both decorative and practical. You can customize them with patterns, stamps, or pressed leaves.
Steps
- Roll clay to even thickness.
- Cut circular shapes.
- Press texture into surface.
- Let dry completely.
- Seal with waterproof finish.
Materials
- Air dry clay
- Round cutter
- Textured stamps
- Waterproof sealer

5. Mini Succulent Planters
Introduction
Small clay planters are trendy and perfect for succulents or desk décor.
Steps
- Shape clay into small bowl or pot.
- Hollow center.
- Smooth inside.
- Let dry thoroughly.
- Paint and seal.
Materials
- Air dry clay
- Sculpting tools
- Acrylic paint
- Sealant

6. Clay Candle Holders
Introduction
Handmade clay candle holders create cozy, rustic décor for tables or shelves.
Steps
- Roll thick clay slab.
- Cut circular base.
- Press candle into center to create indentation.
- Let dry.
- Sand and seal.
Materials
- Air dry clay
- Candle (for shaping)
- Sandpaper
- Clear sealer

7. Boho Clay Beads Necklace
Introduction
Clay beads can be used to create handmade jewelry with earthy vibes.
Steps
- Roll clay into small beads.
- Poke holes using skewer.
- Let dry fully.
- Paint or leave natural.
- String onto cord.
Materials
- Air dry clay
- Skewer
- Acrylic paint
- Jewelry cord

8. Clay Trinket Tray with Gold Leaf
Introduction
Adding gold leaf creates a high-end look.
Steps
- Roll and shape tray.
- Let dry completely.
- Apply glue to edges.
- Press gold leaf.
- Seal for durability.
Materials
- Air dry clay
- Gold leaf sheets
- Craft glue
- Sealer

9. DIY Clay Magnets
Introduction
Clay magnets are easy and perfect for gifts.
Steps
- Roll clay.
- Cut small shapes.
- Let dry.
- Paint.
- Glue magnet backing.
Materials
- Air dry clay
- Cookie cutters
- Paint
- Small magnets
- Strong glue

10. Abstract Clay Sculpture
Introduction
Create a small abstract sculpture for shelves or desks.
Steps
- Shape clay into abstract form.
- Smooth edges.
- Let dry.
- Sand lightly.
- Paint in neutral or bold tones.
Materials
- Air dry clay
- Sculpting tools
- Sandpaper
- Acrylic paint
- Sealer